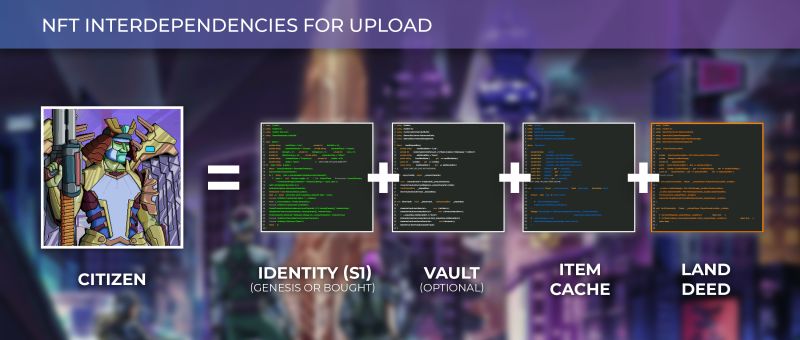
If Web3 functionality of the official website is unreachable or disabled, a Citizen can be created interacting with the Citizen contract and all the component contracts on Etherscan.
Requirements
Creating a Citizen requires:
- Enough ETH for multiple transaction fees (0.02+ to ensure that you can complete the process)
- These component NFTs must be in the ethereum wallet you are connecting to Etherscan:
- An Identity or a Bought Identity
- Item Cache
- Land Deed NFT
- (Optional) a Vault can be used to increase the $BYTE yield of the resulting Citizen.
- The token ID for each component
Note: You can reduce costs by uploading a Citizen when gas fees are low.
Etherscan Instructions
Set approval for all of the component contracts
You’ll need to do this before uploading: To approve you need to go into each contract and call "setApprovalForAll". Pass in the citizen contract (0xb668beB1Fa440F6cF2Da0399f8C28caB993Bdd65) as the operator, and 1 for approved
Upload via the Citizen contract
- Open the Citizen contract, click the Contract tab, and click the Write Contract tab within that frame.
- Use the Connect to Web3 button to connect your wallet with the required components and ethereum.
- Expand function 4,
4.createCitizen.and fill in every parameter with the correct token ID for each of your component NFTs.- If you don't have a vault, put
0. - Select
0for a male Citizen or1for a female Citizen. - specialMessage is a custom message associated with your Citizen that will appear on exchanges in the description field. If you want to leave that field empty use
"".
- If you don't have a vault, put
If you get an error, make sure you set approval for all in the component contracts.
